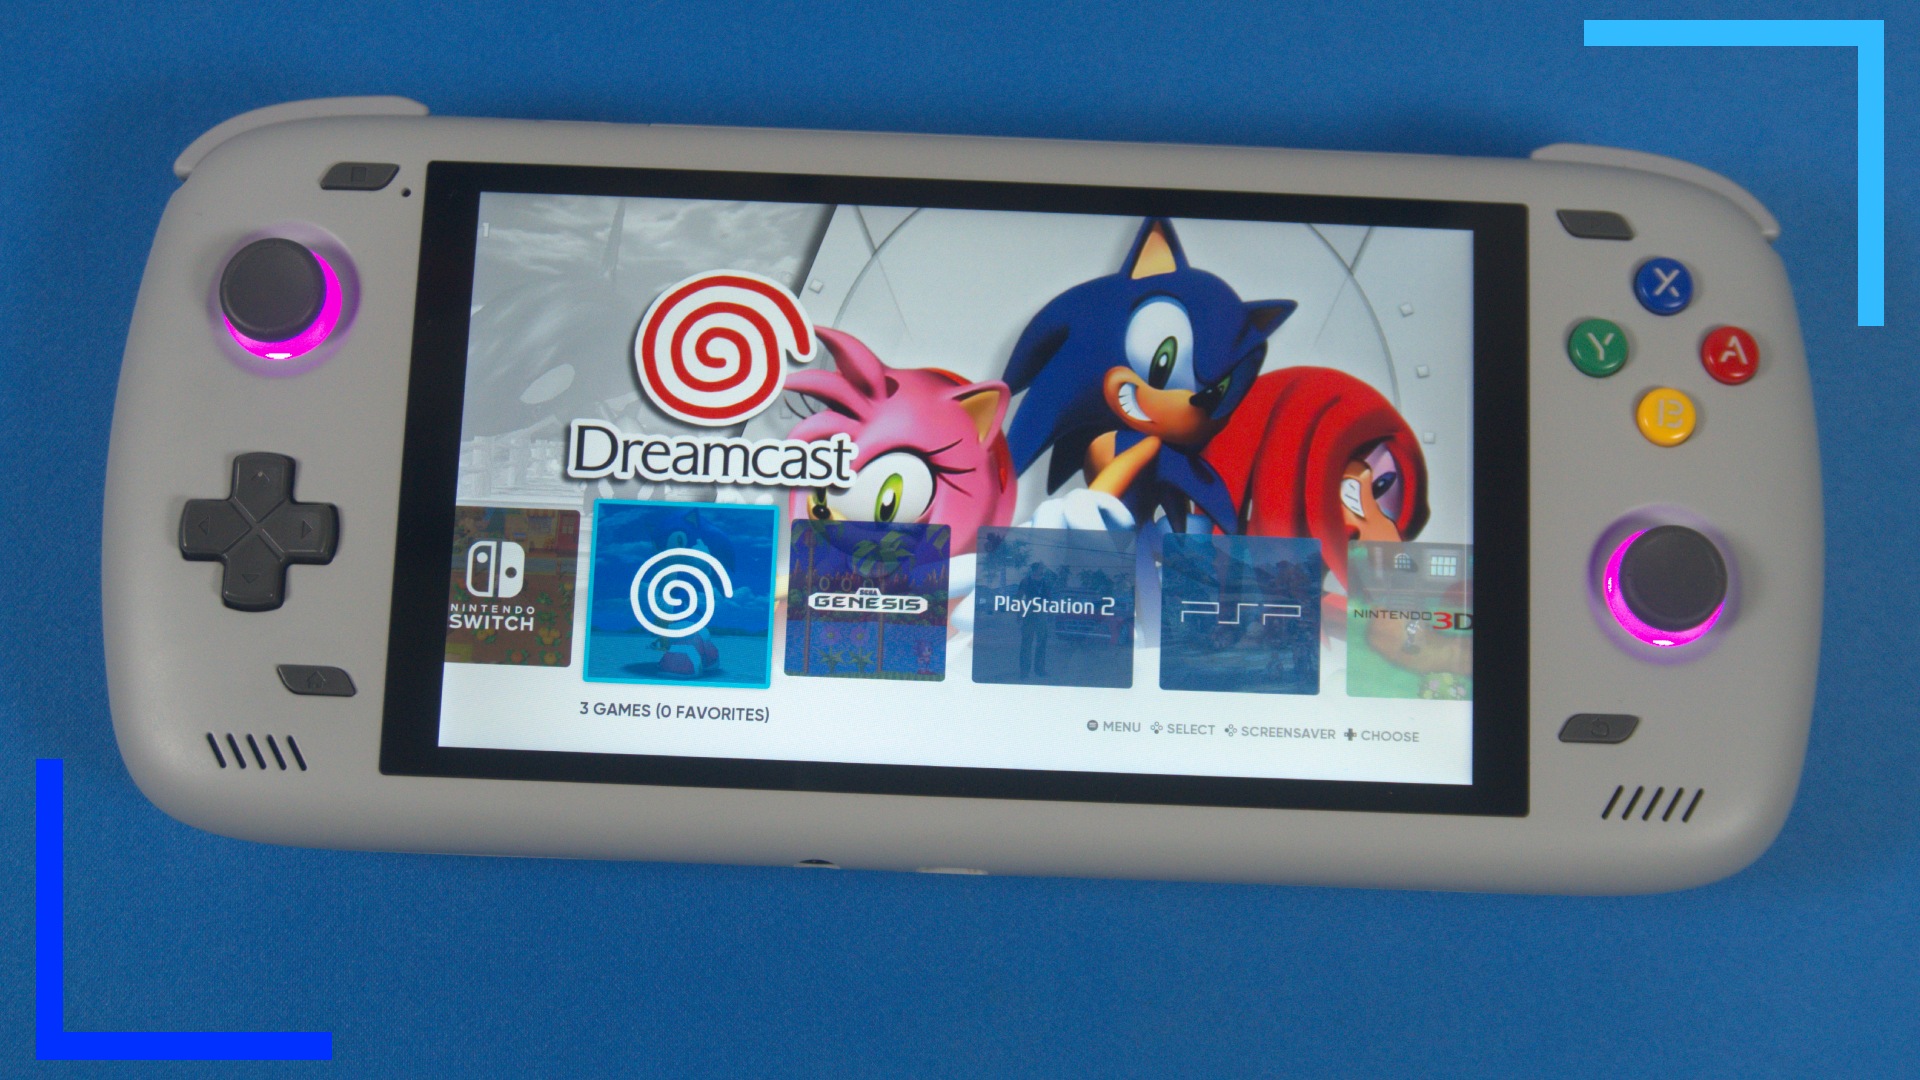
EmulationStation remains arguably the most popular option when it comes to booting up ROMs through emulators. The app itself isn’t an emulator, rather it’s a frontend that lets you view all your games and ROMs and launch them through their corresponding emulator.
Prior to this release, EmulationStation has only been available on PC. I also need to note, at the time of writing it’s only possible to download EmulationStation through the Amazon Appstore. From what I’ve heard it is coming to the Google Play Store in the future, so if that’s your main storefront, feel free to hold off until a later date.
Step 1: Install the Amazon Appstore

All of the following steps are going to be completed on your physical Android device. I used the AYN Odin 2 for this, but any Android device running Android 11 or above should work.
On your device, load up your Internet browser (I used Chrome) and head to Google. Perform a search for “Amazon Appstore download.” One of the first results will be a link to the official Amazon site. Click on the link that says “Download Amazon Appstore” while making sure it has the Amazon logo.
When the new page loads, you’ll see a big clickable button that says “Download.” Click on that and one of two things will happen.
- It will download the APK file. In which case just wait for it to download and click “Open.”
- You’ll be prompted to allow installation from unknown sources. Turn this on then go back to the page and download the APK file and install it. Afterward, head into settings, search “App” and go into Chrome, and turn “allow unknown sources” off. Leaving this turned on may pose a security risk to your device in the future.
Once the Amazon Appstore is installed, tap it once to open it and log in with your Amazon account.
Step 2: Install emulation station

Here’s a nice easy step for you. Type “Emulation Station” into the Amazon Appstore’s search bar. A few results down you’ll see EmulationStation. Tap on it, and you’ll be able to purchase it. You may need to allow “from unknown sources” once again as the Amazon Appstore isn’t an official Play Store app, so go ahead and do this now (and turn it off again after you’re done).
Once EmulationStation has been downloaded, go ahead and open it up.
Step 3: Configuring emulation Station

EmulationStation will work as it is, but I ran into a host of problems and want to share some of the solutions.
- To import your ROMs.
Upon booting for the first time, you’ll be asked to set up some options. The main one to focus on is where your ROMs folder is. If you let EmulationStation create its own folder for ROMs somewhere, you’ll need to manually move all your ROMs into that new directory. As many of us will be using retro handheld devices, chances are we’ve already got our ROMs on the device in their own folders.
Related: AYN Odin 2 Emulation Showcase.
To fix this, when asked where you want to create the ROMs folders, instead point it to where your actual ROM folders are located. EmulationStation will still make a bunch of new folders, but as some of the folders share the same system name, it will instead scan the folder for ROMs.
There are some conflicts, like with 3DS. EmulationStation will create a folder named “N3DS” instead of reading the 3DS folder. For this, you will have to transfer your ROMs into the new folder. Still, this workaround is much quicker than having to move every single ROM into a new folder.
- To turn off the on-screen overlay.
Open the settings menu and head into Input Device Settings. Scroll down to Enable Touch Overlay and toggle that option off.
- To add game boxart.
Enter the settings menu and click on Scraper. From here select Scrape The Systems, select all the systems you want to pull boxart for, then hit start. Note: this takes a while, so feel free to come back to it later.
- To change the theme.
From the setting menu hit UI Settings, click on Theme Downloader and pick the theme you want. Download it, then click on Theme to select your theme and back out of the menu. The new theme should now be applied.
- Games not loading or going to a black screen.
This may be different from device to device, but on my AYN Odin 2, none of my games loaded. To fix this, go into the settings menu and click on Other Settings. Next, go into Alternative Emulators, and manually set each emulator to the standalone version. That way EmulationStation will use the version of the emulator you installed – either from the Google Play Store or from online – instead of whatever the default option is.
Why You Shouldn’t Do This Just Yet
By all means go ahead and try this if you want to. But from my experience, I ran into several problems with my Odin 2. Most notably was even after I set the emulators to standalone versions, certain games still wouldn’t load. I also found instead of loading games directly, some would just take me to the emulator instead. Which, you know, defeats the point of it being a launcher.
Admittedly it’s still early days, and the EmulationStation team is a talented bunch, so these issues will likely be fixed in the future. But given this is a premium app that’s also free on PC, it’s hard to recommend it over the Odin 2’s default launch or over something like Daijisho. It looks better, for sure, but right now the functionality still needs work.

