If you ask any retro enthusiasts what they think of the PS Vita, chances are they’ll say it’s one of the best retro devices out there.
While it didn’t make our guide to the best handheld emulator consoles or handhelds that can play PS2 games due to its lack of power, developers all over the world are performing feats that defy all expectations.
Sure, seeing TMNT Shredder’s Revenge running on Anbernic devices is one thing, but Sonic Mania on a device that shouldn’t be able to run it? That’s pure undiluted magic.
When we first heard about this, we had to try it ourselves. How could we not? So now we’ve worked the kinks out and been able to simplify the process, we’re going to pass that knowledge on and show you how to install Sonic Mania on PS Vita the easy way.
You will need a small amount of hardware knowledge and, of course, a modded PS Vita, but in all honesty, this isn’t complex once you know what you’re doing.
Prerequisites
- Moded or jailbroken PS Vita
- Vita Shell pre-installed on PS Vita
- Internet access
- A basic understanding of installing VPK files on PS Vita
- A basic understanding of computers and folders
1. Get EasyVPK
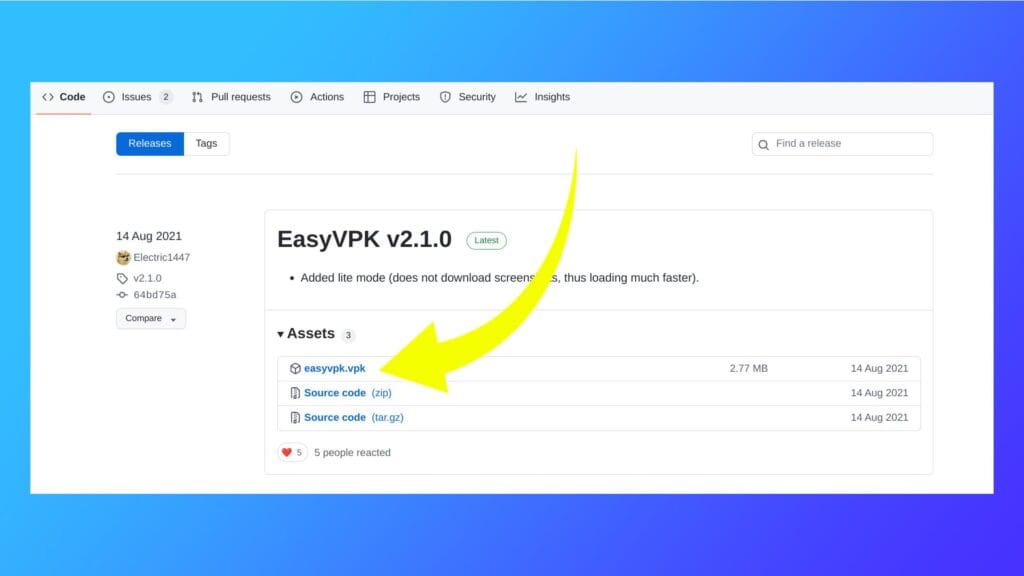
First things first, grab the PS Vita app EasyVPK from the GitHub website. This is going to make the whole process a lot smoother and will bypass all of the tricky back-and-forth areas involving multiple VPK files.
Once you’ve loaded up the website look for the file named “easyvpk.vpk.” Click on it, and it’ll download. It’s all nice and simple so far.
Next you’re going to want to transfer the file over to your PS Vita console.
2. Installing EasyVPK
There are a few different ways to do this and the easiest for many is to use a USB cable. Once the PS Vita is hooked up to a computer, load up VitaShell and press start to bring up a menu. Under ‘select’ in the menu, click on it to change it to USB if it’s not already.
Press select and VitaShell will connect the PS Vita to the computer.
Alternatively, you could use an FTP program for a similar, albeit wireless option. To do this, load up VitaShell and press start to bring up a menu as we did above, only this time switch the USB communication to FTP. When you press select now, it’ll bring up a message with the IP of the console. Type the IP address into the FTP client on the computer and the two devices should connect.
Whichever way you choose, both work without too much hassle.
Next all you need to do is place the EasyVPK file someone in the PS Vita. We tend to go with ‘Ux0>>Download’, purely because it’s an easy path to remember.
Once the file is copied over, you’re free to disconnect the PS Vita and move on.
While still in the VitaShell app, navigate to where you placed the EasyVPK file and click on it to install it to the system. Once it’s finished installing you can delete the original VPK file if you want to, then close VitaShell.
3. Use EasyVPK to Get Apps
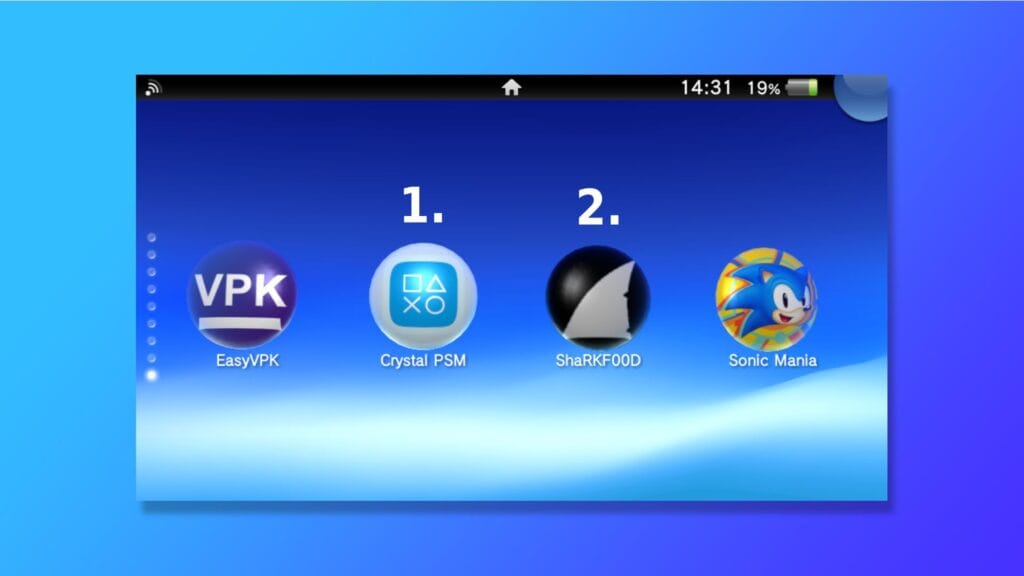
If everything has gone according to plan, once you close VitaShell there should be a nice bouncy bubble on the home screen named EasyVPK.
Click on the EasyVPK app to open. To use this app, you’ll need to be connected to the Internet, so if you’re not, be sure to set that up in ‘settings>>network’ first.
EasyVPK is a fairly simple app designed by Electric1447. The idea here is an app to download homebrew apps and games in the easiest way possible, which we obviously love.
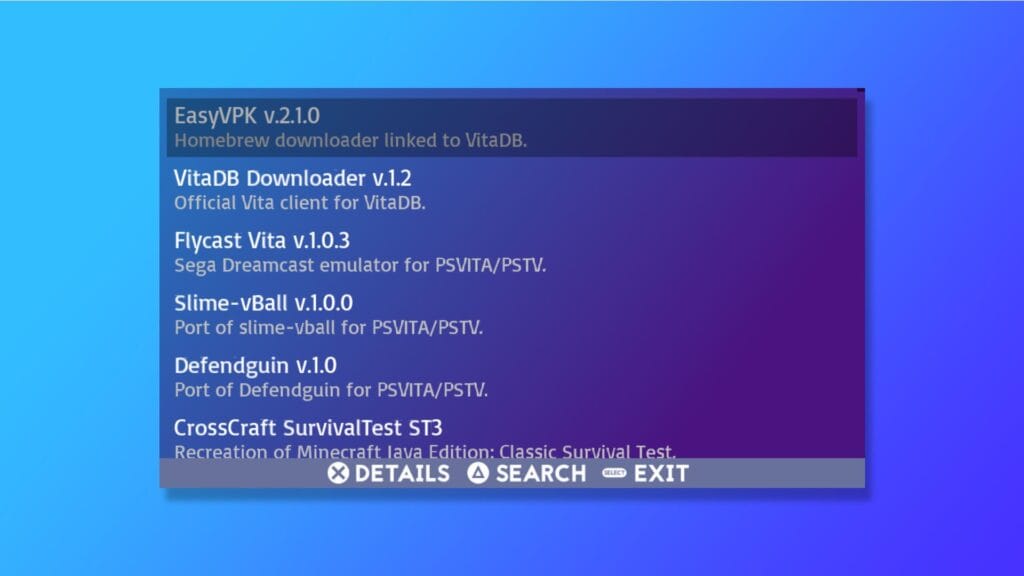
To use it, you can either scroll from the main screen or press triangle to bring up the search function. It’s the search function we’ll be using for the next few parts.
There are three separate apps we’re going to want to grab and install from EasyVPK:
- Crystal PSM
- SharKF00D
- Sonic Mania
Installing each of the above apps is a painless process. Just hit triangle, type the name into the search box, then click on it and follow the on-screen instructions. Easy peasy.
Now, the reason we’re grabbing Crystal PSM and SharKF00D is because Sonic Mania requires PlayStation Mobile files to work properly. Without those files, the game simply won’t load and you’ll get an error saying “error runtime shader compiler missing (libshacccg is not installed).”
Note: ‘SharKF00d’ uses two zeroes for the name, not two Os. Also, it’s easier to just search ‘shark’ we found out.
Once all three of the apps are installed, close EasyVPK and head back to the home screen.
Next we’re going to want to run the apps in a specific order.
Load up Crystal PSM and it’ll do everything it needs to without any input from the user. Handy, right? After that’s completed, close it and next open up SharKF00d.
SharKF00d will work in the same manner as Crystal PSM – it does everything for you without any input.
After that, close the app and then we can move on to getting Sonic Mania up and running.
4. Install Sonic Mania on PS Vita
As of right now Sonic Mania won’t do anything. If you click on it, you’ll be greeted with an infinite black screen. That’s because what we’ve downloaded isn’t the game, it’s just the port.
What we need to do next is get the game files for Sonic Mania and transfer them over to the PS Vita system.
To grab the game files, you’re going to need a copy of the game. You can grab it from Steam or the Epic Games Store. It is possible to extract the game data on PS4 and Switch, but that requires a modded console for each. So for ease, just buy the game online for PC.
Once it’s done installing, head into the PC’s file explorer and find the Sonic Mania folder titled, you guessed it, Sonic Mania.
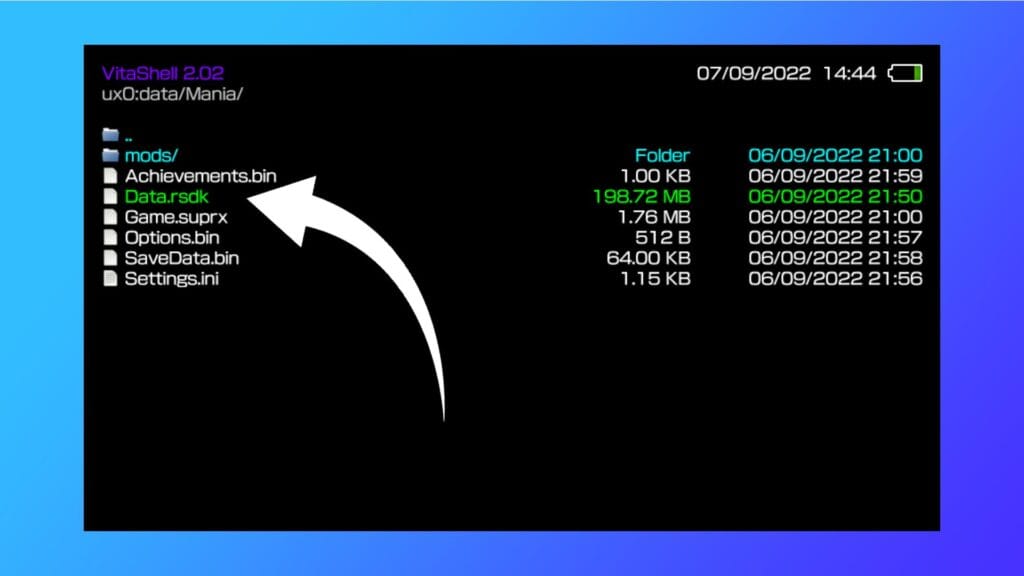
Upon opening the folder you’ll be greeted with a reel of different files. Ignore most of them and look for the file named ‘Data.rsdk.’ That’s the data file that contains everything that makes Sonic Mania work.
Copy Data.rsdk and connect the PS Vita to the PC either through USB or FTP (outlined above).
Once the PS Vita is connected head back into VitaShell and hit select to connect to the PC. Now just copy the Data.rsdk to somewhere on the PS Vita. When that’s finished, safely disconnect the PS Vita. You’re nearly done.
Back in VitaShell, find the Data.rsdk file and hit triangle on the file then select ‘move’.
Next, work your way through the following path:
- Ux0>>Data>>Mania
Once you’re in the Mania folder press triangle one last time and select paste. This will drop the Data.rsdk file into the Mania folder.
With that, you’re done. When you return to the home screen click on the Sonic Mania bubble and it should load straight up. Success!
Known Issues
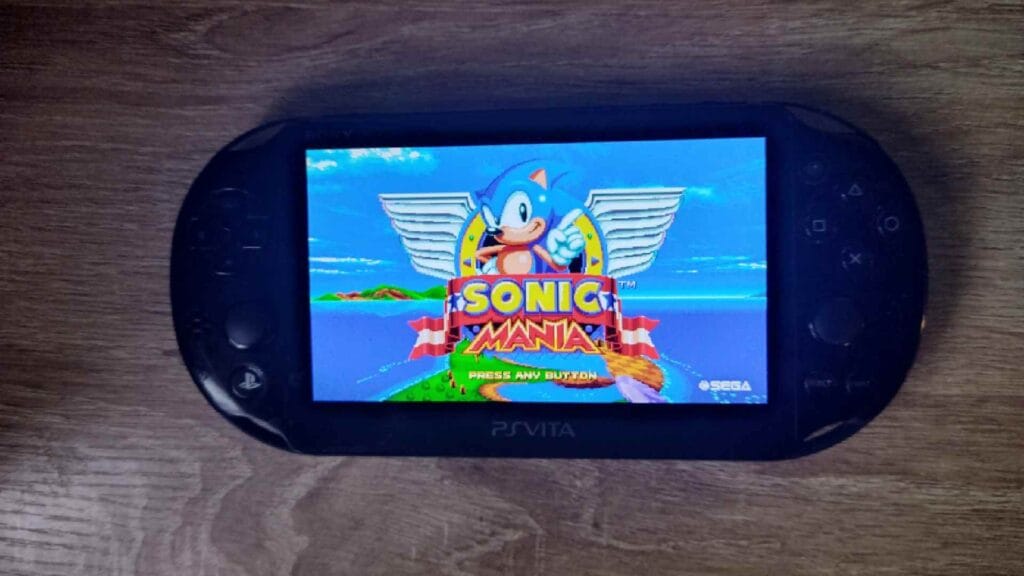
Although playing Sonic Mania on PS Vita is a stroke of coding genius, it’s still early days, so expect a few rough edges.
When we tested it out for this guide, we found special stages ran much slower when compared with the official releases. The developer behind the port SonicMastr says this is a “renderer limitation and cannot be improved without more work from the upstream developers.”
Elsewhere Stardust Speedway Bosses are slow, Sonic attaching to Tails will result in the Blue Blur falling comically, and there are a few random crashes.
The developer is aware of the issues, though, and they’re planning to fix what they can.
That said, a large portion of the game is playable and looks absolutely fantastic on the PS Vita. The bugs aren’t enough to deter Vita fans.
Which PS Vita Model Do You Need to Use?
For those unfamiliar with the history of the PS Vita, there are two main PS Vita models out there – the PS Vita 1000 and the PS Vita 2000. If you’re looking to Install Sonic Mania on PS Vita, great news. Both models are compatible with this, though they will need to be modded first to let them run unsigned code.
If you’re unsure which version you’ve got, the PS Vita 1000 is the original launch model and boasts an OLED screen, and is considerably larger than the PS Vita 2000.
The PS Vita 200, meanwhile, ditches the OLED screen for an LCD screen, slims the design down, and offers up longer battery time – around five to seven hours vs the 1000’s three to four hours.

