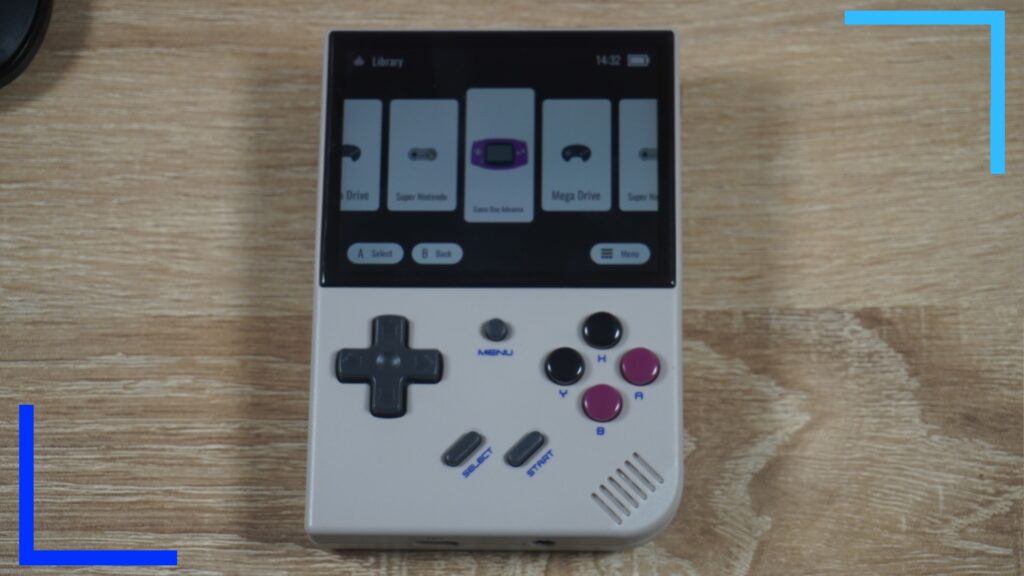
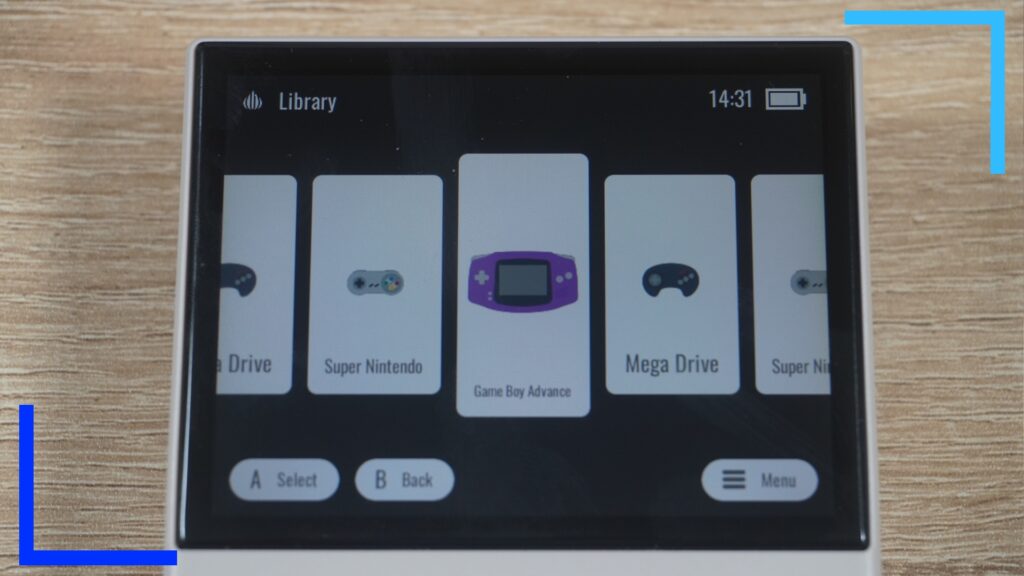
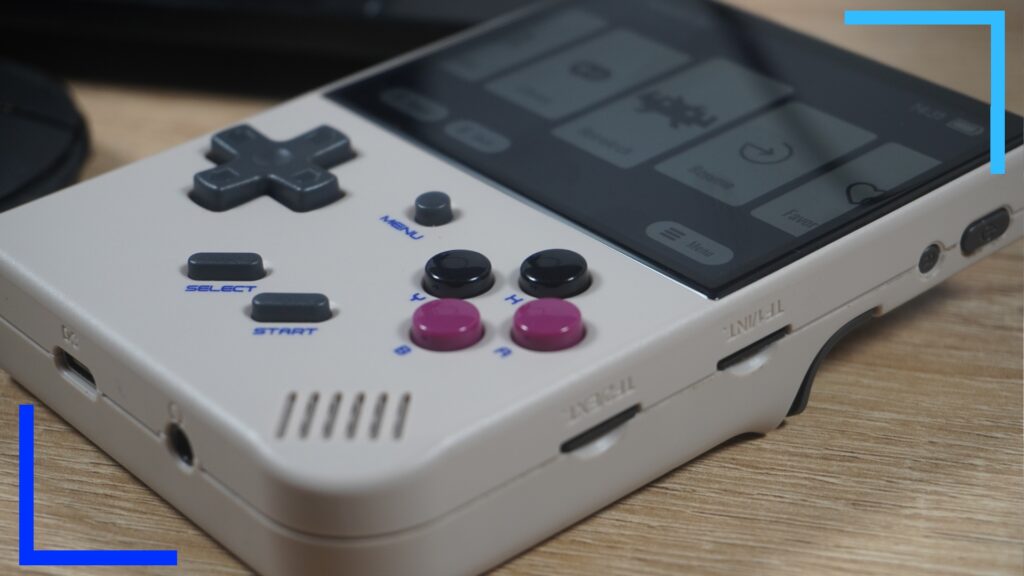
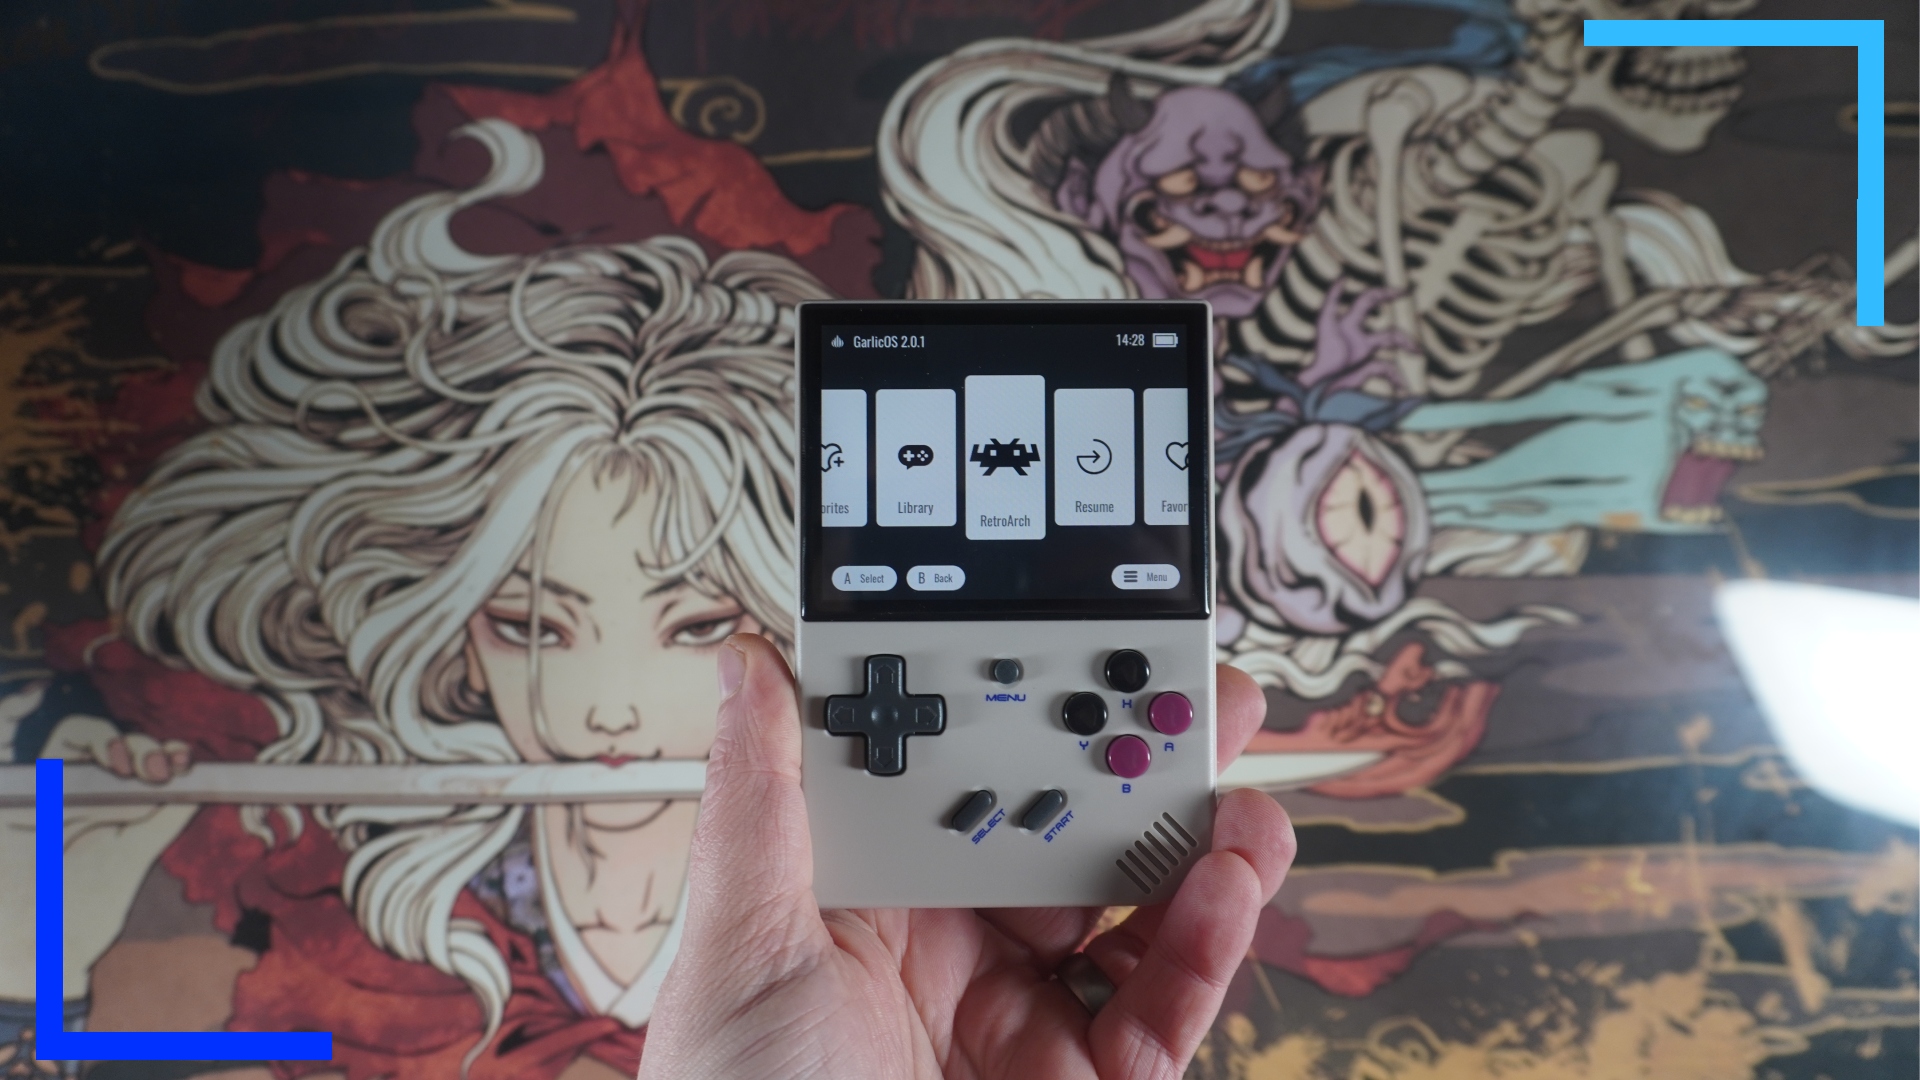
Installing GarlicOS on the Anbernic RG35XX Plus isn’t anywhere near as complicated as some guides are making out. In fact, all you really need to do is download a handful of files, extract them, and drop them onto two SD cards. That’s it. So if you want to get up and running in around three minutes, read on to learn how.
If at any point you get stuck or unsure of what to do, feel free to watch I made the video below that shows you exactly what to do.
Step 1: Download and Extract the Necessary Files.
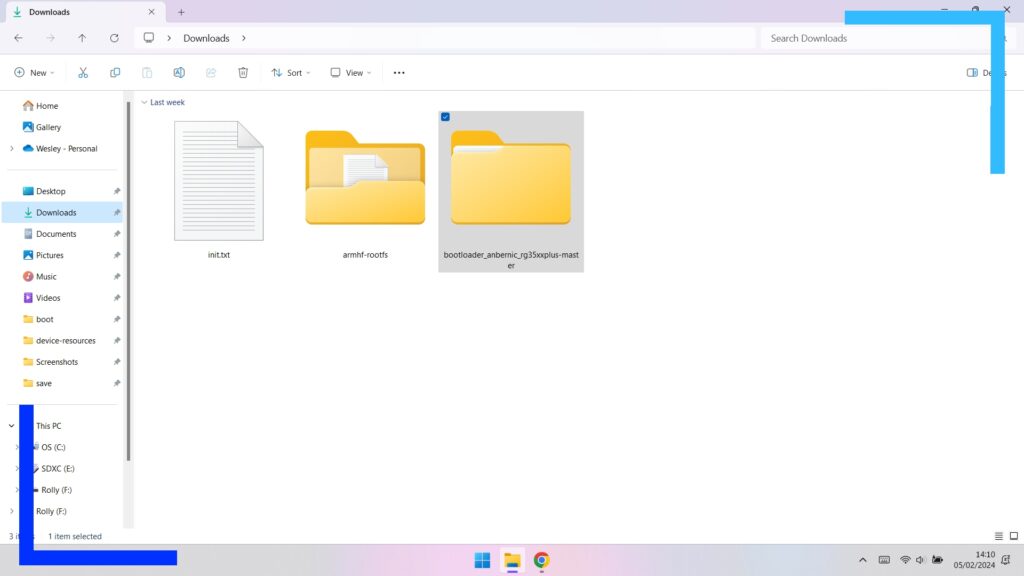
The first thing we need to do is download the following files from the GarlicOS Github.
When you get to the page, click on the corresponding blue links to download each file. The files we need are as follows:
- Bootloader.
- Armhf-rootfs.7z.
- Init (right-click this link and select Save Link As).
Note: Clicking on the links above will directly download the file to your computer. Should the links ever change, use the link above instead.
Once everything has downloaded, go into your Downloads folder and right click each of the files and extract them to their own folder. If you don’t have 7Zip installed or a compatible extractor app, install 7Zip from the official website now.
Step 2: Change the Init File Type.
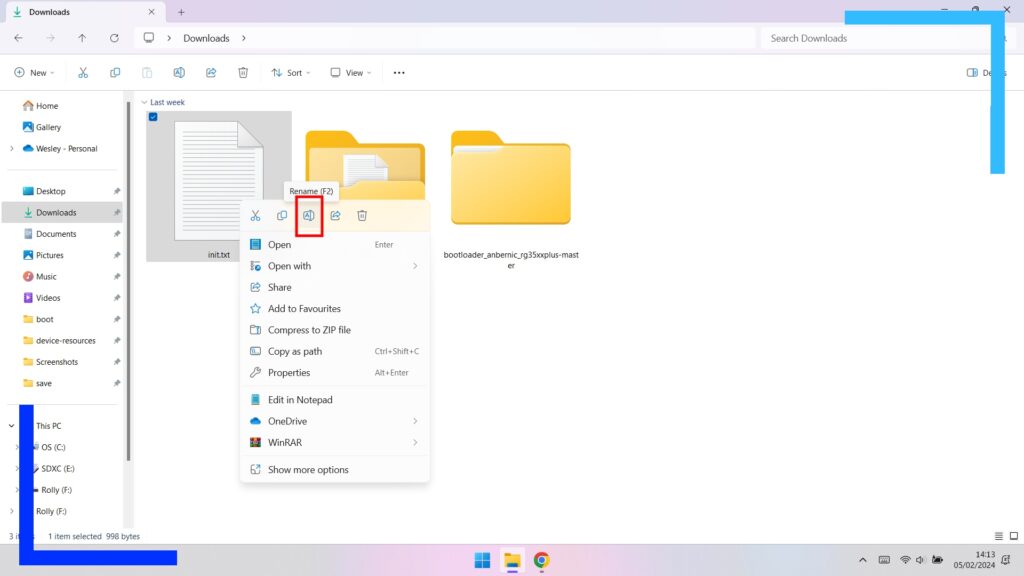
Before we move on, we need to alter the init file otherwise it won’t work as it should. It’s nothing hard, don’t worry. We just need to get rid of the “.txt” extension at the end of the file name.
First, let’s make sure you have File Name Extensions turned on. While in the Downloads folder, click on View, then drag the cursor over Show. A new list will pop open. From here, make sure File Name Extention has a tick next to it.
Now go back to the init file, again in Downloads, and right-click the file. From the menu hit the Rename icon, and delete the “.txt” part of the file name. Windows will ask you if you’re sure, but it’s safe to ignore that and hit Yes.
Step 3: Transfer The Bootloader
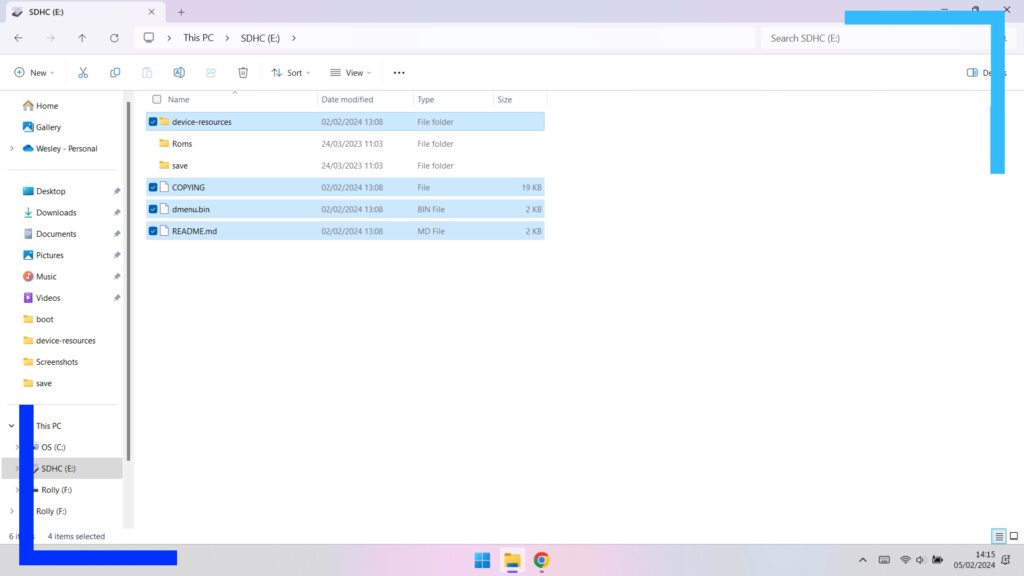
Now all that’s left to do is transfer the respective files to the right SD card.
First let’s grab the RG35XX Plus and eject the memory card in TF Slot 1. Plug it into your PC and open up the File Explorer. In a new tab, head into the extracted bootloader folder. Inside the main folder you should see the following three files and one folder:
- Copying.
- dmenu.
- ReadMe.
- device-resources (folder)
Highlight all of these files, right-click on any file, then select Copy.
In your new tab, open the SD card (which may be named SDXC) and paste all three files and one folder into the root of the sd card.
Note: The root of a folder is the first level when you click on it.
You’re now safe to eject this memory card and put it back in the RG35XX Plus.
Step 4: Transfer the GarlicOS Files.
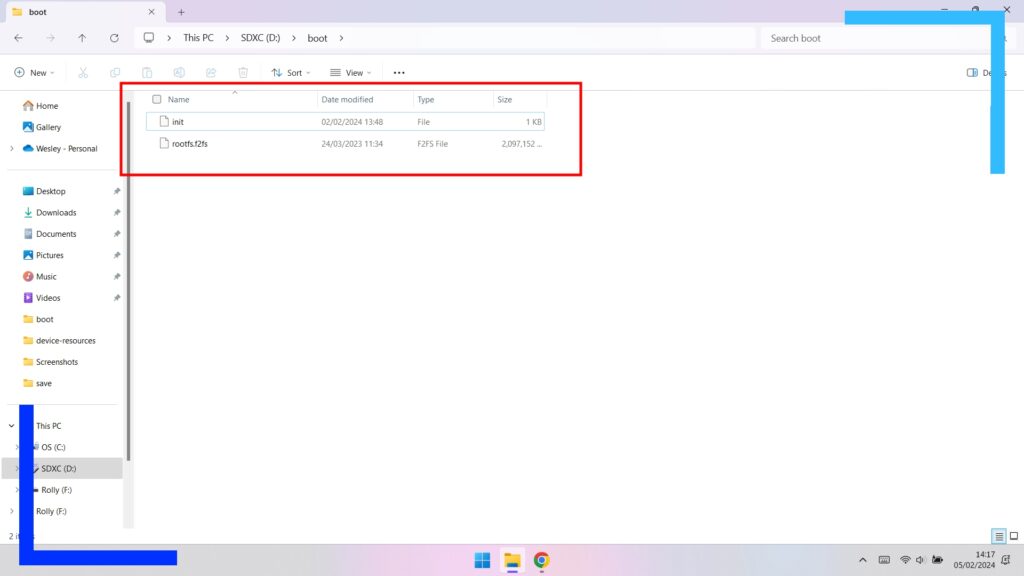
Grab a new memory card and plug it into your PC. In the File Explorer, right-click on the card and select Format. A new window will open, and we want to format this card to exfat.
Once that’s done, open the memory card in File Explorer and create a new folder named “boot”. Head back into the Downloads folder and copy both the init and the file named “rootfs.f2fs” found inside the armhf-rootfs folder.
Paste these into the newly-created boot folder and you’re done. Now plug this card into TF Slot 2 and when you boot up the RG35XX Plus, you’ll be greeted by GarlicOS.
Troubleshooting
Although this process is fairly painless, I did have a handful of issues getting my version of GarlicOS to work. If you run into any problems, check out the below to try my fixes.
- You Can’t Access the Second SD Card.
If Windows says it can’t access the second SD card after formatting it, plug the card into your RG35XX Plus and load it up. It won’t load GarlicOS just yet, but it will add some folders to the SD card and make it usable within Windows.
After the main menu loads on the RG35XX Plus, close the system down and plug the second SD card back into the PC. Your PC should now recognize it.
- GarlisOS Isn’t Loading.
If you’ve done everything right and the original operating system loads instead of GarlicOS, plug both cards back into your PC separately and double-check that the files are in the right place. I found when I put the second card into my RG35XX Plus, for some reason it moved the files around, meaning the bootloader couldn’t find the files needed. To fix this, just move the files you transferred back to where they should be. In the init file’s case, it’s the root of the memory card. For the second GarlicOS card, the files should be placed within the boot folder.
- ROMs Aren’t Showing Up.
If you’ve transferred your ROMs and they’re not showing up from within GarlicOS, chances are they’re in the wrong place.
On the RG35XX Plus, your ROMs go into the ROMs folder. But with GarlicOS, you’ll need to go into the Library folder and transfer games into the respective ROM folder. Once your ROMs are in the Library folder, they should show up in GarlicOS.
- PSP and Dreamcast Not Showing Up.
As far as I know, GarlicOS doesn’t support PSP or Dreamcast. That means if you install it, you will lose access to those emulators. Alternatively, you can do what I did and make a second stock operating system memory card for use with GarlicOS. That way you’ve got access to the official operating system for PSP and Dreamcast and GarlicOS for its lush interface with older titles.
